Saturday, July 10, 2021

How to replace a button


The importance of a button is usually not noticed until it's missing. 

 If you have followed Mendingmayhem over at Instagram you know I sometimes like a lazy solution. Like this dress I found second hand and it was missing a button an had a tiny hole next to the pocket.


I just put a butterfly 🦋 brooch there instead. Well the next one fell off too, so I thought I should  fix it properly today.


Of course I didn't have a matching button, so I made it visible by using one that stands out instead.

It made me think about all the items I have found second hand that just is missing a button. So I think I actually need to show you how to replace a button as it seems a lot of people don't know how to.

To replace a button you will need 

sewing thread 

A sewing needle 

Scissors 

Replacement button 


Find the right place for your button, usually you can see tiny holes there the button have been. 


Sew a couple of stitches in the same place to secure the end of your thread.

I have just learned that some people make an x stitch underneath the button, and that I probably have been doing it wrong all my life 😂 but guess what my buttons still stay in place. I checked with some of the sewing experts I know Tricia and   Maria  they said they never learned the x stitch either. 

It would make good sense if it's a large coat button or similar. 


My button had 4 holes, some has just 2 but it's the same approach. Sew a few times up and down through the holes and the fabric 


A flat button needs a shank so you shouldn't tie your sewing thread way to tight. 
Wrap the thread 5-6 times around the bottom of the button, around the threads you sew it to the fabric 


Then  stick the needle through the wrapped threads and sew a couple of stitches to secure the ends. Cut your thread and you are done.

             Shank buttons 

Secure the thread by sewing a couple of stitches in the same place. 


 Sew through the shank and then through the fabric. Back up through the fabric and again through the shank. Repeat a few times 


Secure the end of the thread by sewing a few stitches in the same place. 
Your button should be safely replaced. 


Saturday, July 3, 2021

Blanket stitch


All of this borders are made by using blanket stitch.

It's just variations using different length or space between the stitches.

Pretty cool that you can create so much different using just one stitch.

The standard blanket stitch

is created by pushing the needle through the fabric from the front, about a quarter of an inch or five millimeters from the edge of the fabric. The needle is then brought around the edge of the fabric and up through the loop of thread before the stitch is pulled tight

 Can also be called cable stitch or crochet stitch. Often used to reinforce raw edges of thick items like blankets, often with a contrasting colour making it a decorative seam. Also used for edges on tea towels, towels baby blankets, crochet items and applique. 

Visually similar to the buttonhole stitch. 


It's a decorative stitch that can be used in mending. 

Like when the edge of the jeans pockets are starting to fray. 


Did you know it can be used to darn as well?


How to make a closed blanket stitch


Here is a variation of the closed blanket stitch


A few variations of blanket stitch 


Tuesday, May 18, 2021

Iron on adhesive

 Iron on adhesives are often used in applique, but are also very useful for mending.

It’s easy to use and fast.

All you really need is a hot iron and a piece of adhesive and a fabric patch and a hole or a stain to cover.


Cut out a patch of your choosing and cut a similar price of adhesive.

Put it on top of your hole or stain with the adhesive in the middle

Iron it in place. Make sure you don’t iron it stuck to your garments or ironing table. I use the kind of paper you also use for baking underneath.

And you are done. You can of course choose to stitch on top if you like to.

I often feel it looks unfinished only ironing it on. But you don’t have to do anything else about it if you don’t want to.


 It also works well if you have a garment that is very fragile like my wool shirt that just made new holes when I tried to repair it. 
I used a under layer from an outgrown woolshirt from Jr. 
And just iron on adhesive attached it to the inside of the shirt. Preventing it from falling apart while stitching on it. 


Monday, May 10, 2021

Water Soluble Embroidery Stabiliser.


 Water Soluble Embroidery Stabiliser.


I have had a few questions about how I to use the water Soluble Embroidery stabiliser.

It’s quite easy.

You find a pattern you want to use, and put the embroidery stabiliser on top and draw with a pen after the lines.

I have a book with different patterns, or I look for something online.

Often I Google coloring pages as they are easy to copy.


When you have drawn your pattern, pin the stabiliser to the place you want to embroidery. 


Then just embroidery as usual over both the fabric and the stabiliser. It feels a bit odd to stitch through the stabiliser but I promise you the end result will be great.


It’s also very handy if you have a delicate fabric, making it more stable and easier to stitch. Like the dragon I stitch on my sisters shirt for mendmarch.


When you are finished with your embroidery it’s just to put your work under the tap and let running water do the job.


Much easier than using see-through paper like I did earlier, as it is tricky to remove and it would tear while you stitch. And often makes your embroidery a little too loose.


Reverse applique in mending

 How to use reverse applique in mending

Reverse applique is a fun technique that gives you a little special finish.

It can also be used in mending.


Reverse applique is when you add layers of fabric underneath the original fabric, not on top like in applique. Revealing the underlying fabric as a feature.

You might have tried this technique and even not realised it was reverse applique. Having a under patch that is visible.

You can choose to have as many layers of fabric you like, but I do recommend one or two for clothes as it will be very thick and stiff.

For the singlet I mended, I used one layer.

The shorts have two

Before you start you need to find out what kind of pattern you want to use. And if it will fit your mending project.

Depending on what kind of fabric your garment are made of you might want to add backing to prevent it from fraying.

My singlet is Jersey fabric and so it’s not fraying.

And it’s really easy and fun to work with.

So instead of just fixing the one hole I did make it a upgrade.


Used a triangle that is really to make some sort of macrame with, as a template. Making sure the hole fitted into one of the holes.

Using a water dissolveing fabric marker to draw the pattern.


Using a piece of an t-shirt as a underlayer.

I cut it a bit bigger and trimmed it when I was finishing.

Pinned it in place making sure it covers my pattern on the front.

Then I stitch around the drawed lines.


You can do it by hand or machine.

I hand stitched using embroidery thread on this singlet


When you are finished it’s time to find a sharp scissor and a keep a steady hand. Cutting out the top layer. Close to the edge, but not so close you will cut the seam.

Since I used a bigger underlayer than the pattern, I had to trim it to size.


And then it’s ready to wear.


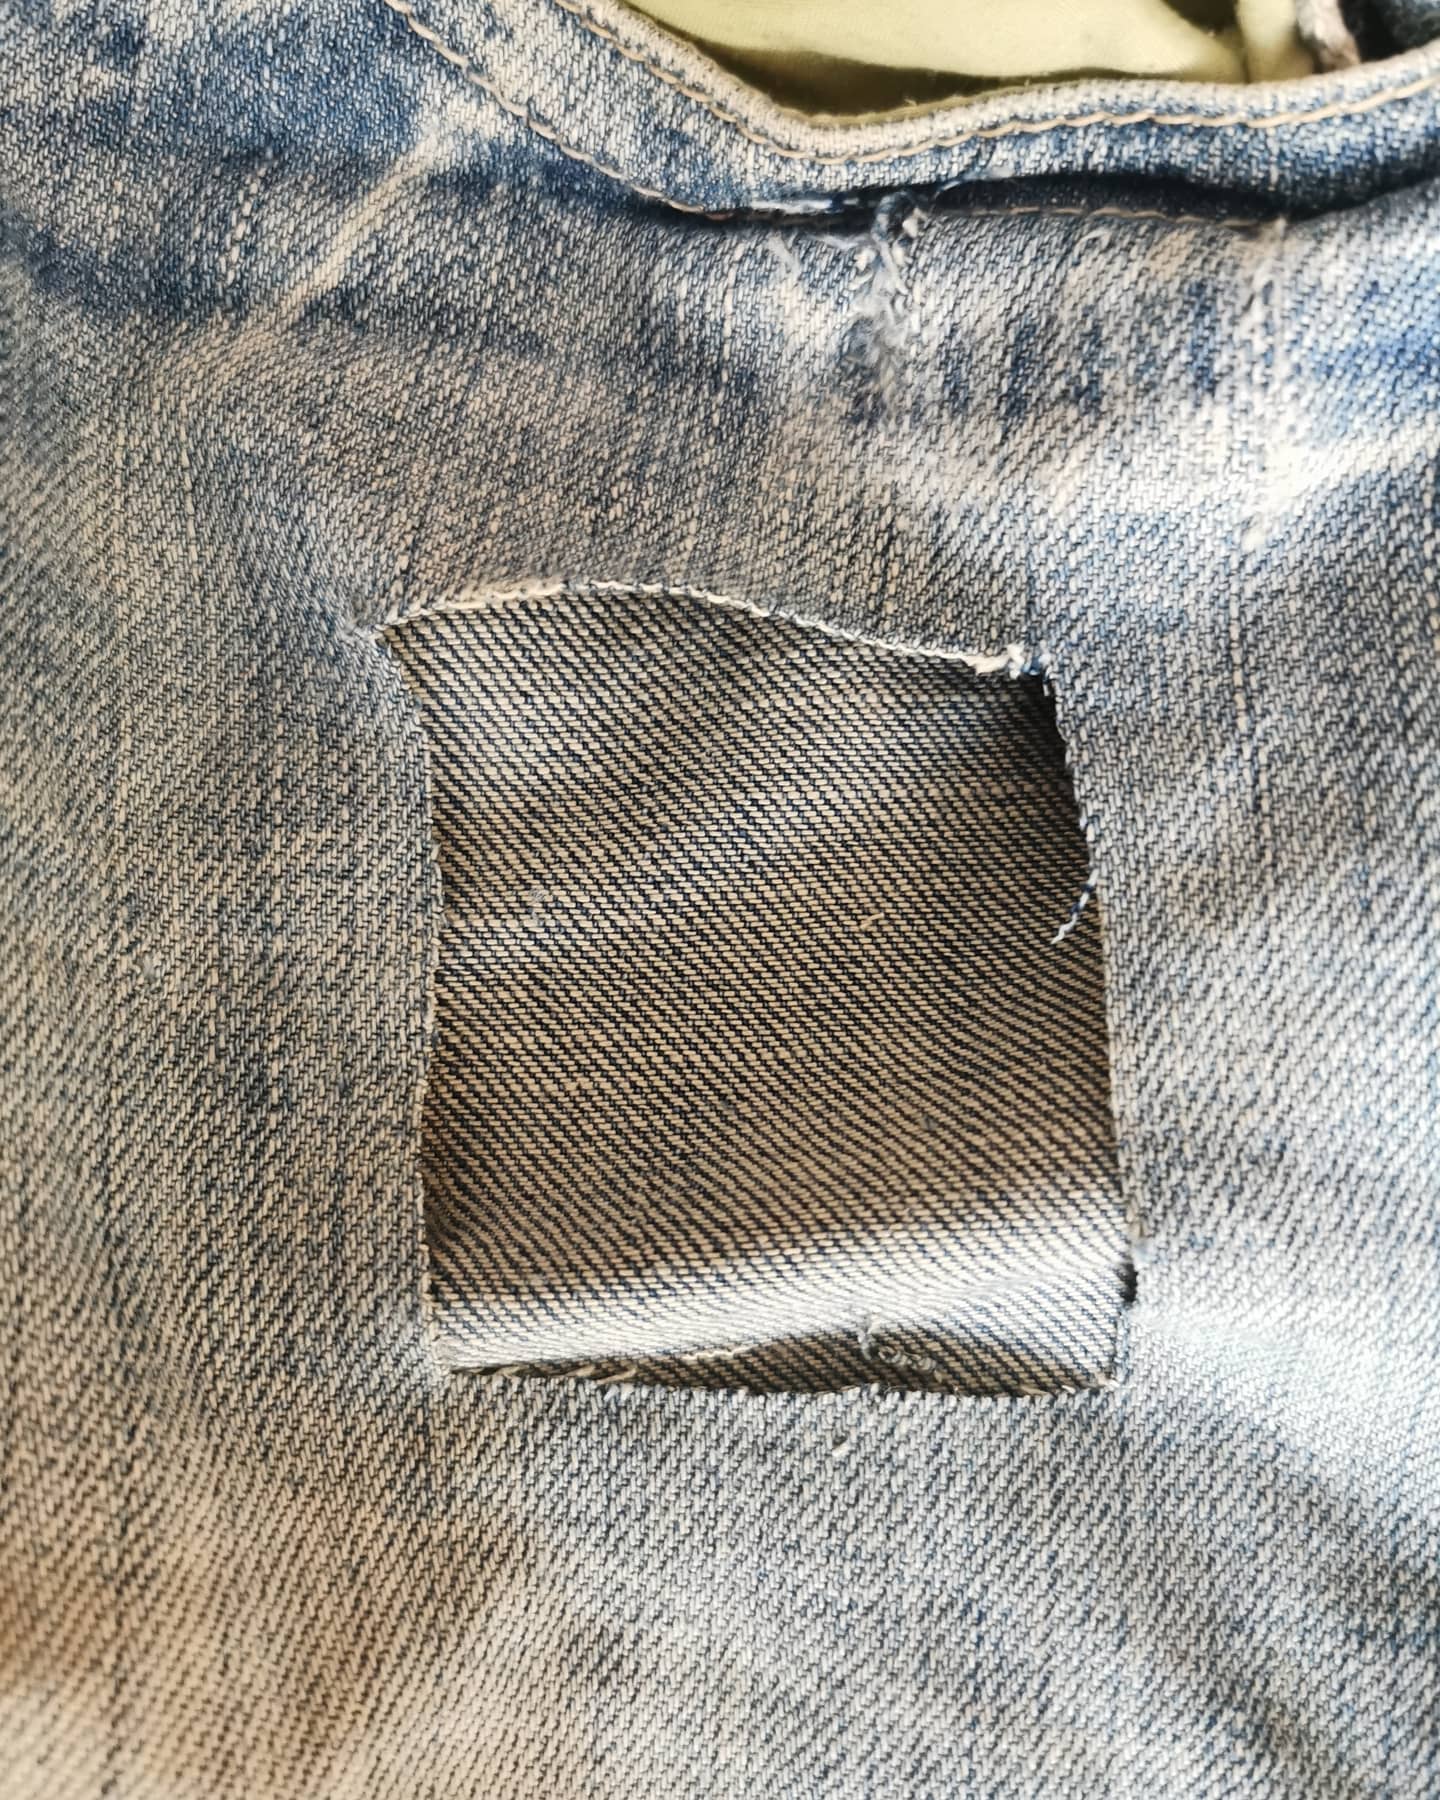
With the denim shorts I started with cutting Making clean edges around the hole.


Using two pieces of fabric for the underlayer. A bit bigger than the hole so it will be room for stitching around.


Using a woven fabric securing edges with iron on backing. You can also use Zigzag stitch or a serger if you like. The vintage lady was a delicate and thin fabric so I chose Iron one backing.


I often see people skipping this step, and I still remember how annoying I thought my mum was when she thought me to sew, nagging about Zigzagging around the edge before sewing. It was so boring, right?

So I learned the hard way it’s even more boring to have put a lot of time and effort into something and it’s ruind because I was lazy and skipped this step. Because if you don’t secure the edges the fabric will fray, and your efforts will have been a waste.


I pinned the two pieces of fabric in place and hand stitched around the edges.


No scary cutting after you have been stitch if you do it this way.


Wool jacket repair

  I was asked if I could mend this double wool jacket. At first the owner only thought it was a few holes in the sleeves but discovered a bi...